Installing a Stove or Logburner in a Gazebo
This blog post is designed to help customers understand how to install a stove in a gazebo and some of the most important considerations when choosing the correct stove and flue system.
Choosing the correct Stove for your gazebo.
Probably the most important element in choosing the correct stove is heat output. When a stove is installed in an outdoor setting the usual calculations cannot be used. The slightest air movement through the gazebo can see all the heat generated being blown away, We would always suggest using a stove of at least 20KW.
Indoor Log burners are not designed for use outdoors for the following reasons:
- Cast Iron Stoves are liable to crack due to rapid temperature changes
- Indoor Stoves are designed with heavy baffling to ensurethat they perform most efficiently with at least a 4m flue.
- Indoor wood burning stoves do not have the necessary coating to withstand the elements.
- Outdoor stoves are designed for rapid heat up and often have cooking facilities ad attachments.
So in order to choose a stove that is capable and will function well a steel stove designed for outdoor use of 20kw+ should be selected.
By installing the right stove in your gazebo it will be comfortable all year round. A heated undercover area outdoors is a great place to kickback and unwind after a long day at work.
You can find the most popular outdoor stove for your gazebo here
Installing a flue system in a gazebo
The flue system in a gazebo is easy to install and normally takes anything from 30mins to 2 hours to achieve.
The two main considerations are as follows:
- Can the flue go straight up through the roof? ie are you confident in fitting a water-tight flashing?
- Can the stove be positioned so the flue can run around the gazebo roof in a swan neck fashion?
Firstly we will discuss the 1st option of installing the chimney in your gazebo going straight up through the roof material.
You can see our installation instructions below:
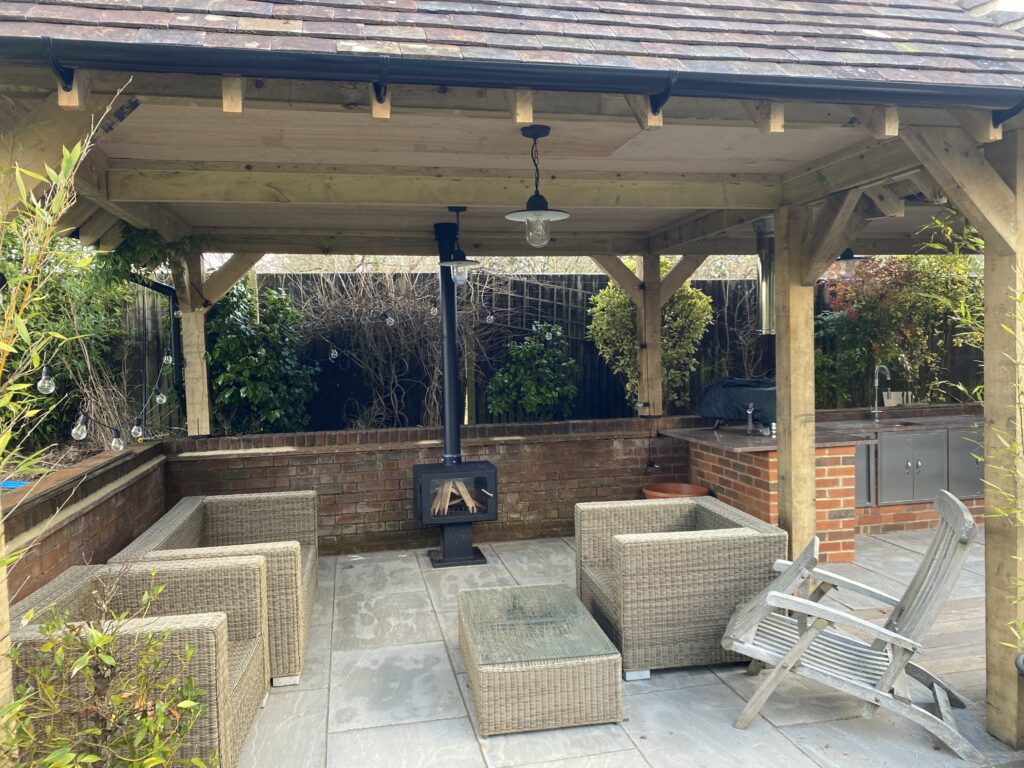
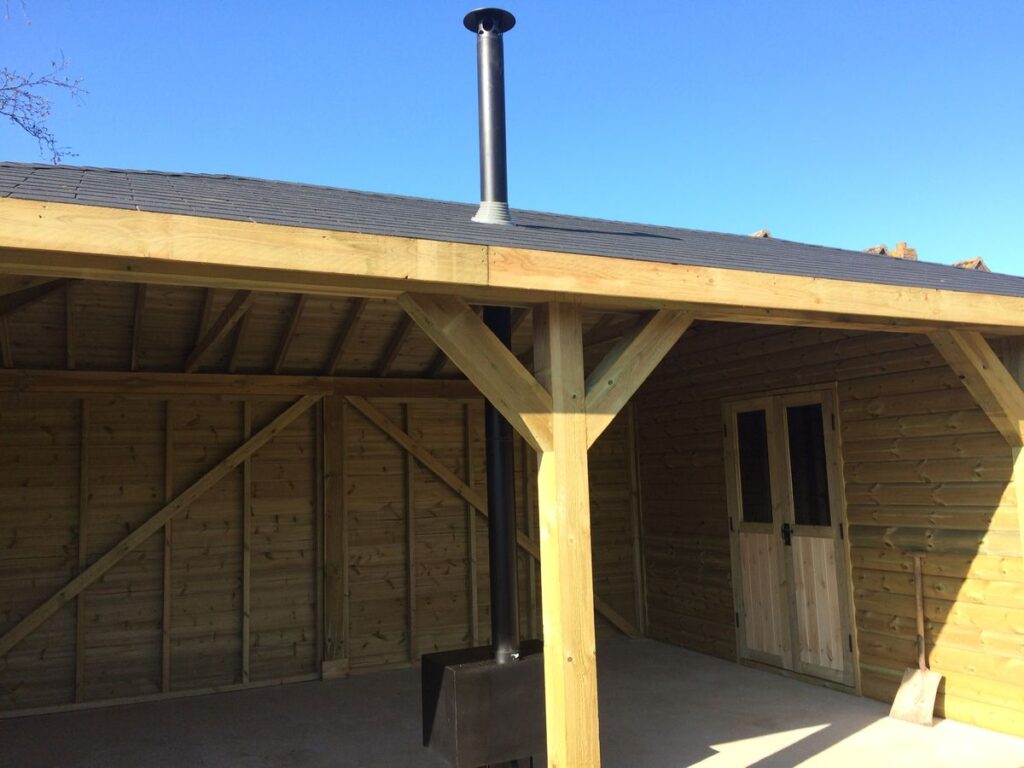
Installing a stove in a gazebo Straight up method
Step one - Sighting the stove
Choose your location for the stove to be sited. Its important to follow the instructions to ensure you have the necessary clearances around the stove to any combustible materials
It’s also important that you choose a location where the flue can travel directly up and through the roof. Ensure that any roof joists are not obstructing the flue. Once the stove is in position use a plumb line to make a mark on the roof were the stove centre will be.
Step 2 - Cutting the roof
Mark a square approx 275mm x 275mm. This doesn’t need to be too neat as it will be covered later. Using a jigsaw cut out the square going all the way through the roofing material.
This area will be covered with the trim plate so its not necesssary to have a perfect cut.
Ensure that any timber structures will be at least 60mm away from the twin wall flue system.
Step 4 - Assembling the flue system
Take 1 meter of single wall flue and place it into the collar of your stove. use the locking bolts to secure the flue in an upright position.
Then wake the adapter and insert into the top of the single wall flue. From the roof then lower down the twin wall flue section into the adapter and secure with the locking band. No fire cement is needed on any of the joints. Ensure the flue is vertical and install the internal trim plate. the trim plate will hold the flue verticle whilst you move onto the next step.
Step 5 -Install the flashing
Take the flashing and cut the rubber section using scissors so that the rubber sleeve slides over the flue pipe tightly. Slide down until it is in position against the roofing material.
This can be screwed down to the roof along the outer edges of the flashing. Using clear silicone seal the outer edge. Optional: Use a Flashband to seal around the outer edges and heat to allow for bonding to the gazebo roof.
Install storm collar over rubber flashing to protect the rubber from UV and position the cowl with the locking band.
At this point, the installation of a stove in your gazebo is complete and you can now follow the first lighting instructions to cure your new stove.
Installing a stove in your gazebo Swan neck method
Probably the simplest method involved routing the flue around the soffit without disturbing the roof structure
- Site the stove – Remember those clearances to combustible materials.
- Insert 1 x 45-degree elbow into the stove collar
- Insert 1 x 1m stove pipe into the 45-degree bend. Adjust stove position if required
- Insert the second 45 degree elbow. The flue will then point straight up
- Using a second person insert the final upright flue section and support by hand. Sometimes it’s easier at the point to also add the cowl to avoid using ladders.
- Install the support bracket to the nearest structural beam. This is to keep the flue in position when its windy.
Final Thoughts
Adding a stove to a gazebo is a great solution to heating. Garden stoves are much more efficient than gas or infra-red heaters and offer a unique ambience and centre point.
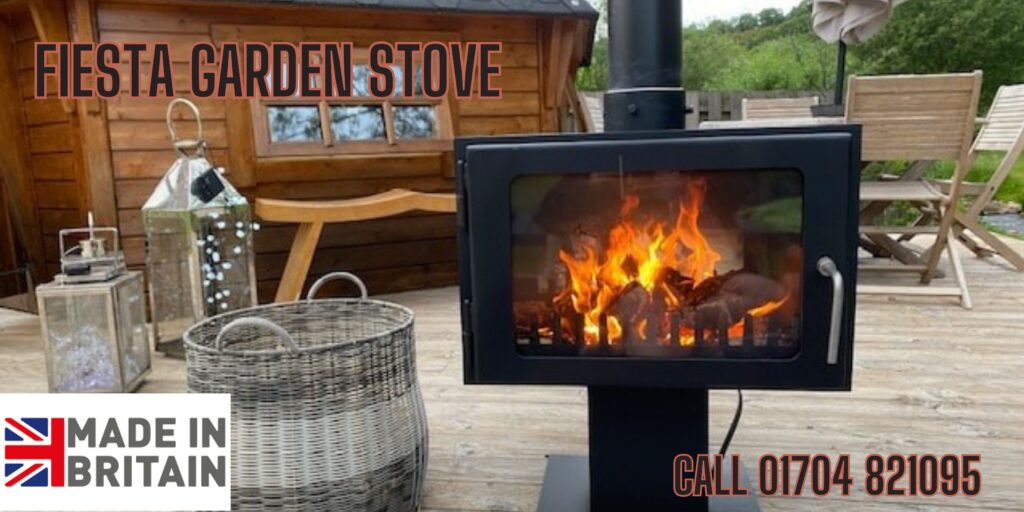
The stove shown above is our fiesta garden stove and can be found here
If you require any further information or assistance you can call us direct on 01704 821095
