How to fit a wood burning or multifuel stove in a shed
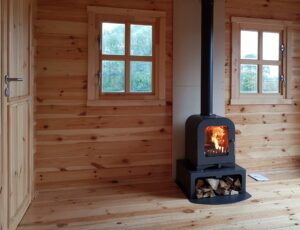
Considerations before fitting a stove or Logburner in a shed or wooden building
Firstly it’s worth working out roughly what output of stove you require to heat the shed. This is simple and can be done by filling in the details below
The Stove KW calculator should only be used as a guide to verify the required stove please feel free to contact us.
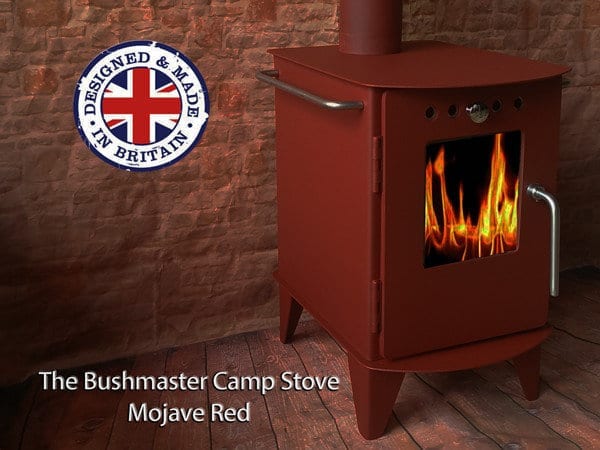
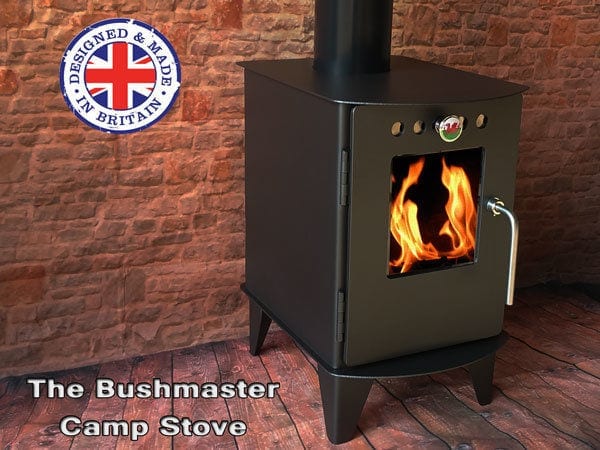
The most common stoves we fit in garden rooms are The Vesta V2 Summerhouse kit and the Bushmaster Summerhouse kit
These stoves are ideal as they work on a very short flue system ie over 2 meters. Wed sells a full kit of parts so you will have everything you need delivered in one package with simple instructions that will guide you through the process. You can find a case study here of an install in a summerhouse
Step 1 – Siting the stove in the shed
Choosing the best position for your stove is quite simple. The flue system is always better to go straight up with no bends at all. Placing the floor plate in position and using a string line to estimate the flue centre position is a really helpful way to assess where the chimney will pass through the roof. It will also show you if you have any supporting structures in the way of the flue penetration and you can then re-position the stove accordingly. Ensure that you have at least 500mm of combustible materials on either side of the stove for safety.
Step 2 – Fit the heat shield
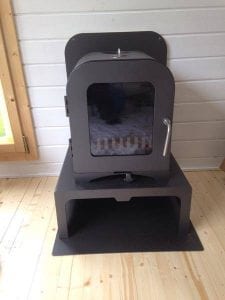
The heat shield is required to keep the heat of the stove from damaging the back wall of the shed. We supply this with the stove kit. It simply lines up with the hearth plate (see image) and screws to the wall using the spacers supplied. The heat shield is comprised of heat-resistant board materials with a steel cladding face that is colour-matched to your stove. Once the positions now determined. Use the plumb line again to make a mark on the ceiling that lines up with the hole in the top of the stove.
Step 2 – Cutting a flue hole in the shed roof
Now it’s time for the fun bit. Yes, it can be a bit scary cutting a hole in the roof of your brand-new shed or garden room but don’t panic we have made it easy by supplying templates and cover plates. Place the template central to the mark you just made for the centre of the flue and use the template to mark the elliptical hole. Pilot drill the hole with a spade bit and use a jigsaw or reciprocating saw to cut all the way through the roof materials. The template has been made to give you the correct clearances required around the flue system

.
Step 3 – Assemble the Shed Stove and flue system
Ok now you have a gaping hole in your lovely shed roof it’s time to think about sorting that out before the family comes home! Start by placing the first single wall flue in the stove. The junction of the two types of flue should be approximately 300mm below the roof. Measure and cut the second section of single wall flue to achieve this using a slitting disc and an angle grinder. remove the flue from the stove pack fire cement in the hole to create a seal and push the flue back in. You can then assemble the remaining flue and poke it through the roof.
Step 4 – Roof Flashing Installation

There are several methods that you can use based on the material your roof is made out of. Our rubber flashing supplied with the summerhouse stove kit is extremely durable and lasts a lifetime.
Once the flashing is fitted you can go ahead and cover it up with the storm collar and fit the cowl to the flue. It’s worth mentioning at this point that you can start to take credit for your hard work!
I am not going to go into the in-depth details of how to fit a flashing and make it watertight due to the nature of the individual room materials But a quick search on youtube will give you some pointers until I create a video tutorial!

Step 4 – Tidying up
In our Summerhouse stove kit, you will have found two small plates. These are very very very important!! Basically, they cover up the mistake you made when cutting the flue hole and provide a nice finish to the ceiling. Ok, get cutting firewood because you have just finished installing a stove in your shed. Oh! Don’t forget to cut the kindling ready to start the fire
Step 5 – STOP!! One last thing
Our stove kits come with a carbon monoxide detector. Please install in straight away! The chance of getting carbon monoxide poisoning is very small but why risk it when we have the technology.
Win a garden room Stove kit.
We are currently running a competition on our facenbook page to win a full Vesta V2 Summerhouse Kit.
Click see more below to enter.
The Vesta Range of Stoves for
Summerhouses, Sheds and Log Cabins
Summerhouses, Sheds and Log Cabins
- Select options This product has multiple variants. The options may be chosen on the product page
- Select options This product has multiple variants. The options may be chosen on the product page
